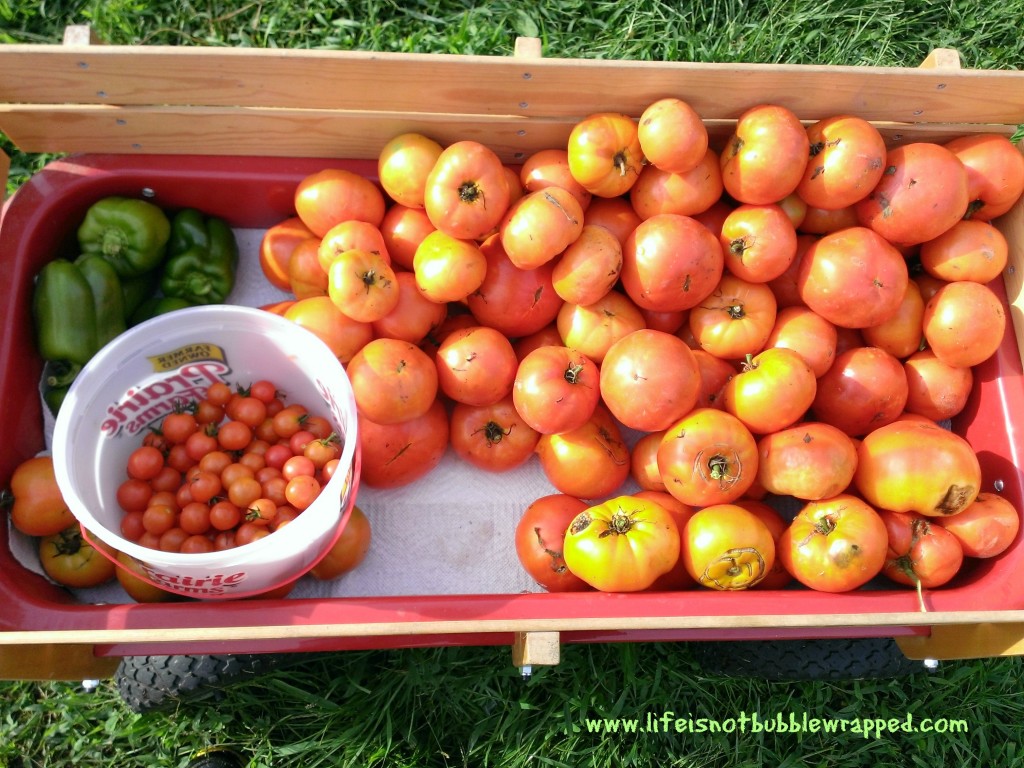
As you can see from our bumper crop photo, we had WAY more tomatoes this year than we could eat! Having no canner and not wanting to have all the glass jars around for the kids to shatter, we decided to venture into freezing the tomatoes. A quick check with our canning expert (my mom) told me that while frozen tomatoes don’t have the same taste or texture as those preserved in glass jars, it’s virtually impossible to tell the difference once they’re added to soups, stews, sauces, or casseroles! Since the main uses we have for tomatoes in the winter is for adding to just such recipes, we were sold! You can also use this process up to step 4 to prepare tomatoes for adding to a sauce you are making the same day: spaghetti sauce, etc.
Step 1: Prep
The first step in the process is prepping your work area and the tomatoes for use. Gather all the necessary equipment. Fill your pot halfway with hot water and get the water boiling – a small one will do if you only have one large one to cook in. If you have 2 large pots, even better! If all you have is one large pot, then use it for steps 1-3 and then rinse it out before re-filling with the prepped tomatoes for step 4. Fill a bowl with cold water and ice near the stove–making sure to leave room for the cooling tomatoes. Lay out the rest of the materials within easy reach.
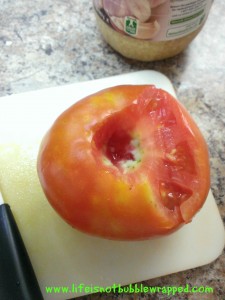
Once the tomatoes are picked (or brought home from the farmer’s market if you find a bargain!), you need to wash them thoroughly to remove any debris and remove the stems. You can core them before or after scalding, just depending on what you like better. We found it easier to go ahead and remove any bad spots and the core ahead of time, so there was minimal knife work to do with them once they had been in the boiling water. This also helps you spot any trouble areas or decay you might not have noticed before. Bad tomatoes literally spoil the stew, so indulge your inner child and smell them once they’re cut to make sure they are ready to cook! Your nose ‘knows’! Better something extra for the compost or bin than to have a bad taste in your mouth when that batch of chili is on the stove!
You can also make a small x near the bottom of the tomato with your knife to help the skins loosen in the scalding process! We tried with and without the x and found that making the x made them much easier to peel. This also works for stone fruit like peaches, if you’re planning on freezing them for pie!
Step 2: Scald
Scalding tomatoes (or other fruits and vegetables) is the process by which the outer skins are quickly cooked so that they loosen and peel off easily. Using the boiling water, and some tongs or a slotted spoon, work in batches of 5-8 cleaned and prepped tomatoes, depending on size. Carefully immerse the tomatoes in the boiling water. Wait about 60-90 seconds or until you see the skins start to loosen. Transfer each batch to your pre-prepped bowl of ice water with the tongs/spoon. Don’t forget to refresh your ice as you work, so the tomatoes cool off quickly and are easy to handle! After they cool for a bit, remove them from the ice bath and skin/core them if you haven’t already. If you made the X on the bottom of the tomato, the skins should fall off when touched! This process would also be called parboiling and shocking if you’re familiar with those terms.
Step 3: Chop
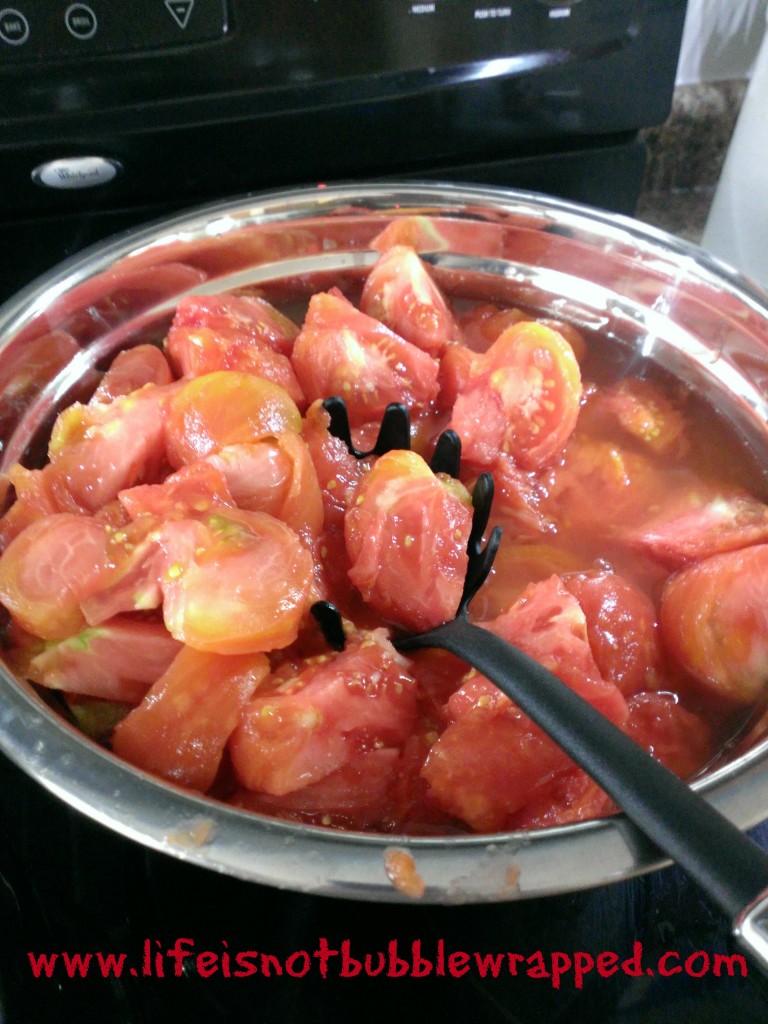
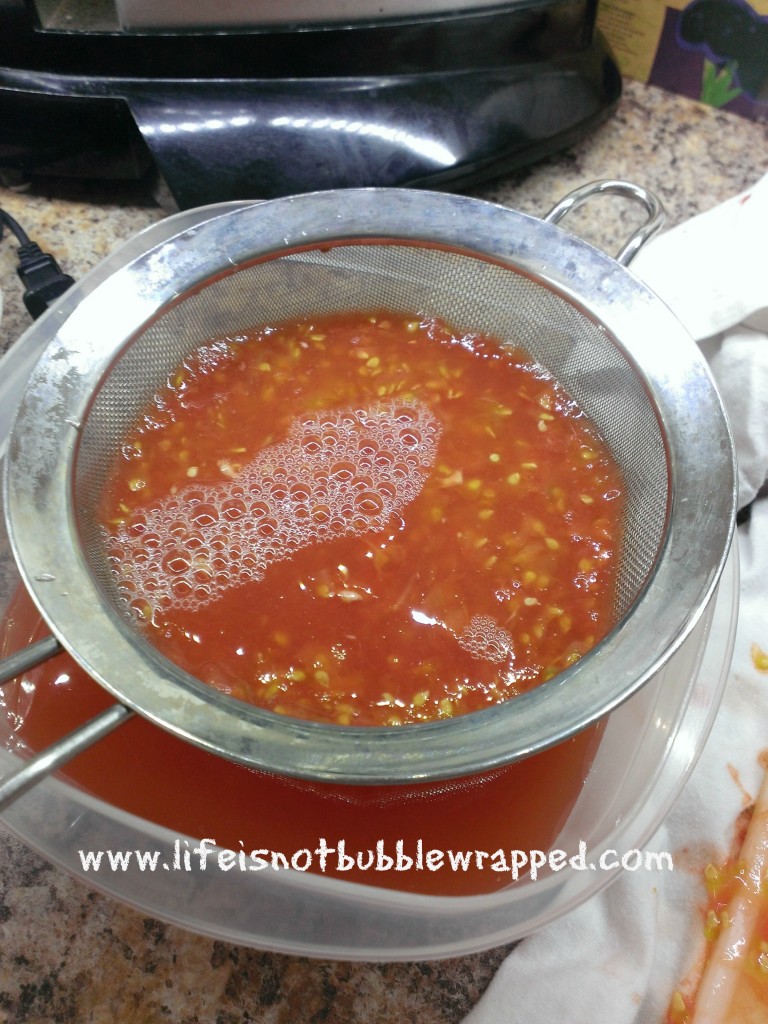
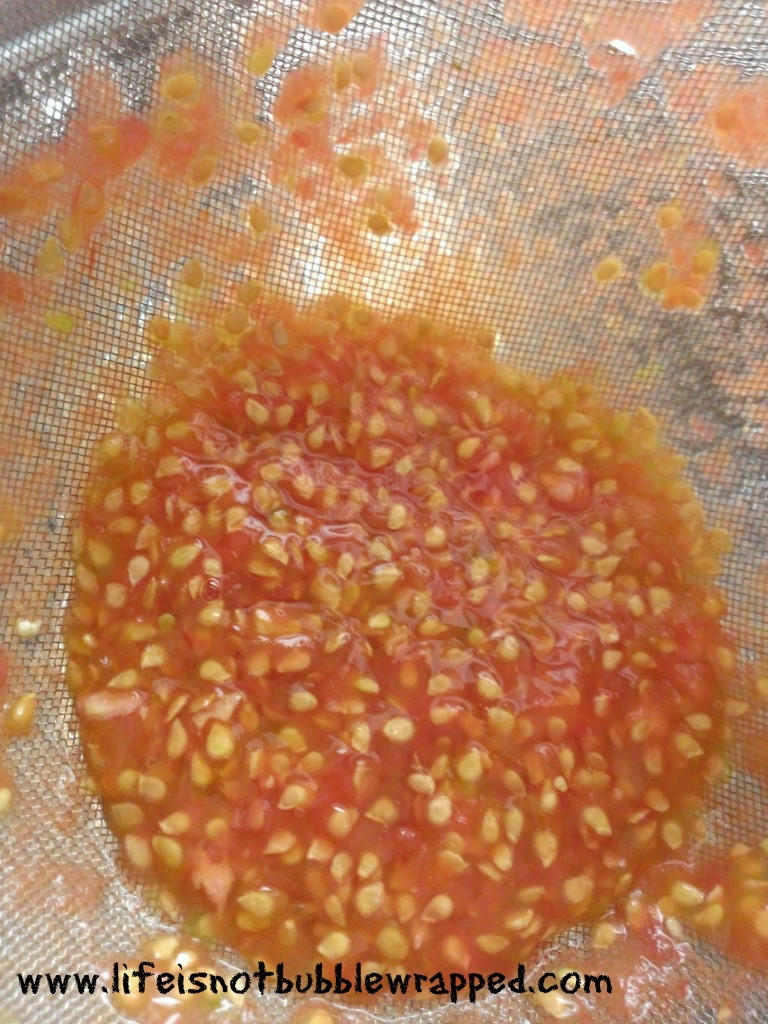
You can chop using a knife, cutting each tomato into 4-6 pieces depending on size, OR simply crush using your hands and place the pieces into a large bowl or pot. If you want to strain the juice off, and have a thicker sauce (and less cook time), use a separate bowl. If you don’t mind the extra juice and/or cooking time, put them directly into the pot!
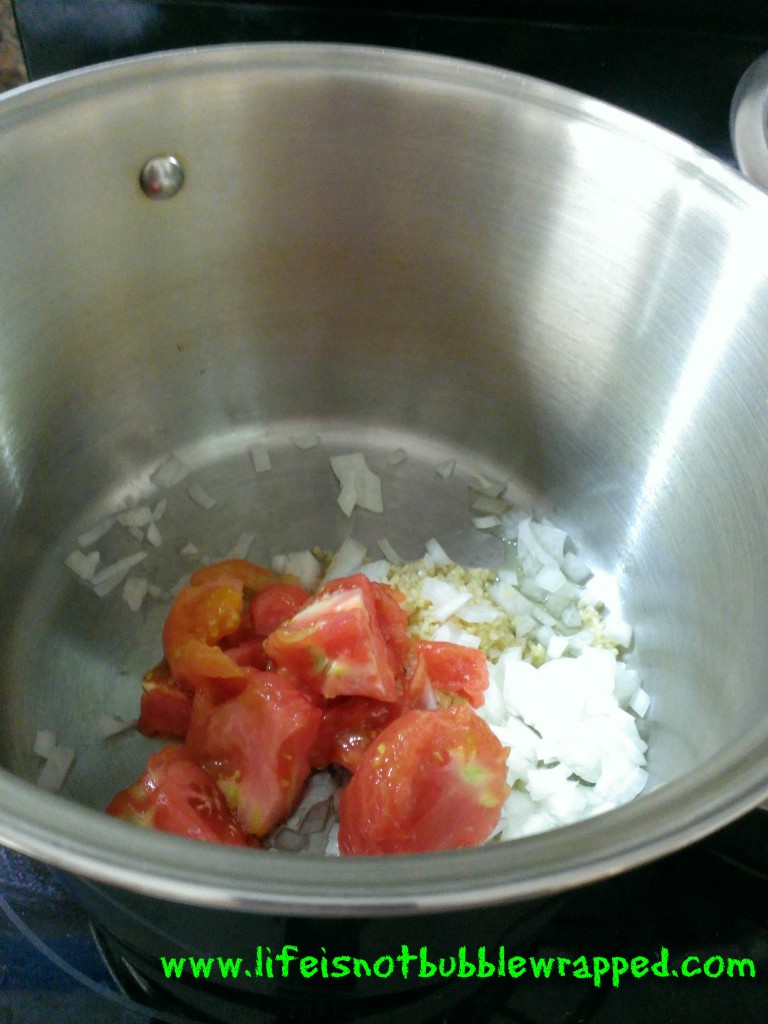
If desired, add your favorite savory elements like garlic and onion to the pot. This will leave a thick, cooked down sauce that’s ready for nearly any Italian or Southwestern dish: think Goulash, Spaghetti or Chili.
BONUS STEP: Scoop tomatoes from bowl to pan and strain juices
Step 4: Cook
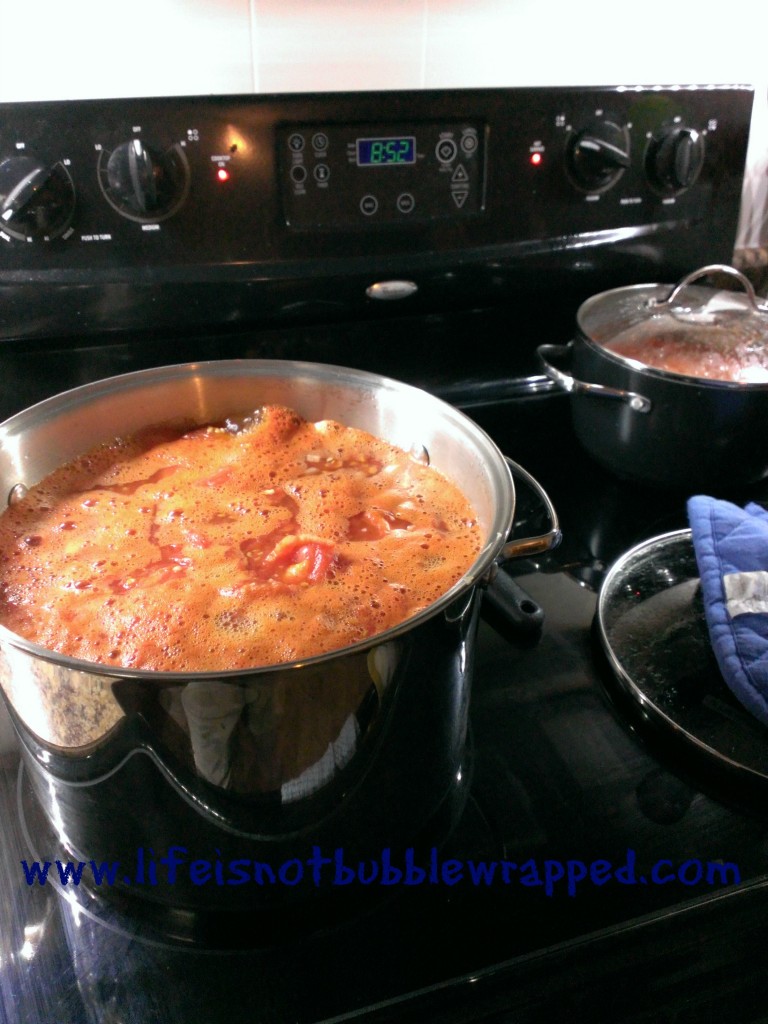
You’ve got your tomatoes strained (or not), added your savories as desired, and now it’s time to cook! Simply turn on your burner and let the mixture bubble, stirring occasionally. When it comes to a good rolling boil, you can turn it down and let the carryover heat complete the process on low. Once you’ve reduced the mixture by a little bit (30-60 minutes) you can take a potato masher and smash the tomatoes to a desired consistency. The tomatoes will be broken down and a loose ‘sauce’ will have formed. Turn off the burner and move the pot off the heat and allow the tomatoes to cool.
Step 5: Add to containers and freeze!
Plastic or glass containers for the freezer are obviously more forgiving than freezer bags, so make sure that the mixture is not too hot or it will melt the plastic! Be sure and leave 1/2-1 inch of headroom per container. If you use bags, fill them about halfway, remove air, seal, and lay flat to freeze. This method of freezing also works well for sauces, soups, and stews if you want to freeze them, since they end up flat when solid, you can stack them in nearly any directly to make the best use of your freezer!
That’s it! As always, use your best judgement and follow basic food safety rules regarding leaving food out/bacteria, freezing and thawing, and use of stove top burners! Be safe and enjoy those tomatoes long after the growing season ends!

