What are you really going to do with a weensie hat? Will the baby book already have footprints in it? So what do you do with the extra set the nurses ‘print’ for you? I have a great solution! A birth board! You have all the little keepsakes that won’t fit in a baby book, displayed instead of packed away in a box somewhere!
This is a quick snapshot tutorial on how to create what I’ve named a ‘birth board.’ I’ve created one for both of my kids for their rooms. The second one has just turned two and I had had part of it done since the first week she came home. It only took me about half an hour to get everything finished up, for a total of maybe 45 minutes all together (that would be a LONG estimate). I’m not sure why I never finished it, I probably could have done it during nap time at any time, I guess I finally got the motivation, knowing baby #3 is coming at some point in the near future.
There are 3 easy steps…
Step 1: Gather your materials
frame
piece of scrapbook paper
pre-painted animal/characters in your favorite theme (or buy them unpainted and do it yourself and save a few pennies)
craft glue and/or tape
scissors
thread or a twist tie if attaching something large (like the hat)
and…
items you’d like to put on the board
Step 2: Preparing the frame
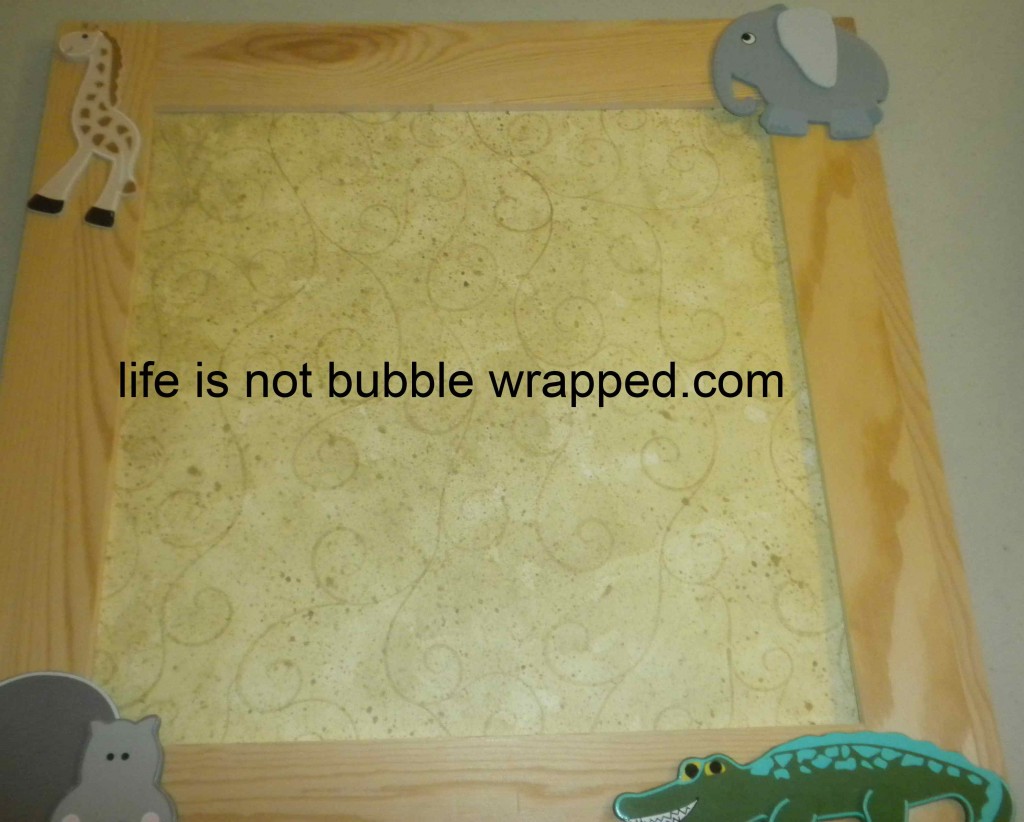
The frame is something we found at Michaels craft store. It’s just a simple wooden frame. You could paint or stain it, but we chose to leave it plain. Any size will do, but we got one approximately 12×12 to fit the scrapbook paper, took the cardboard backing off, popped in the scrapbook paper, replaced the cardboard backing, and glued on the animals.
Step 3: Add your mementos
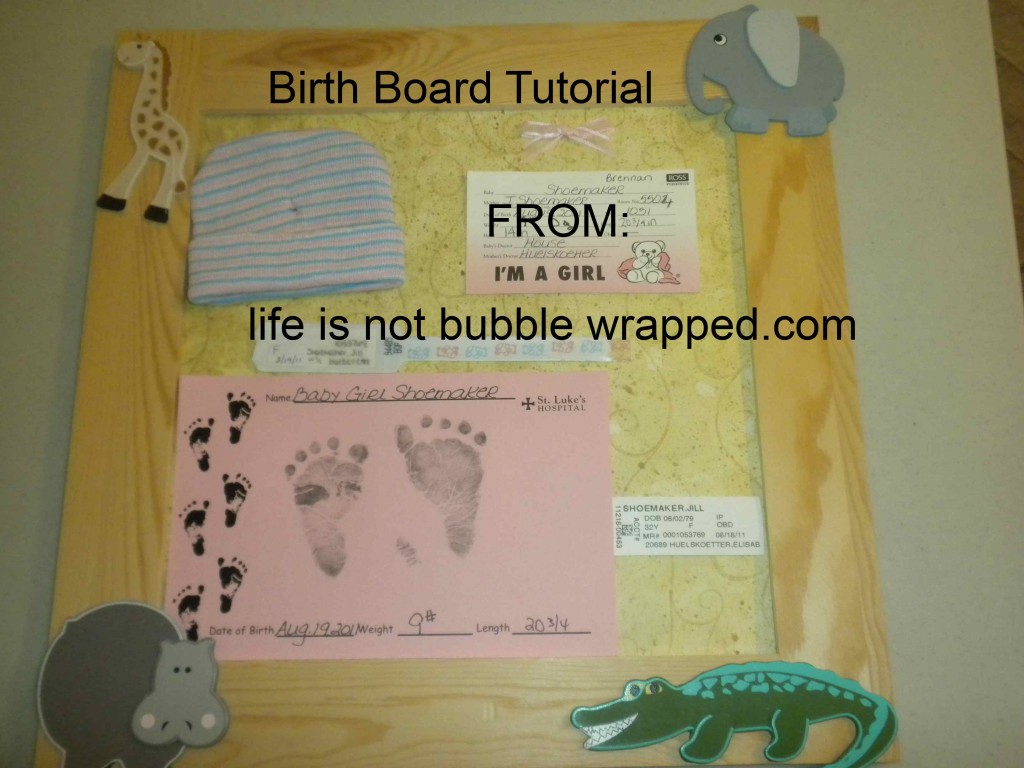
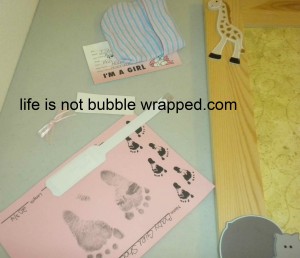
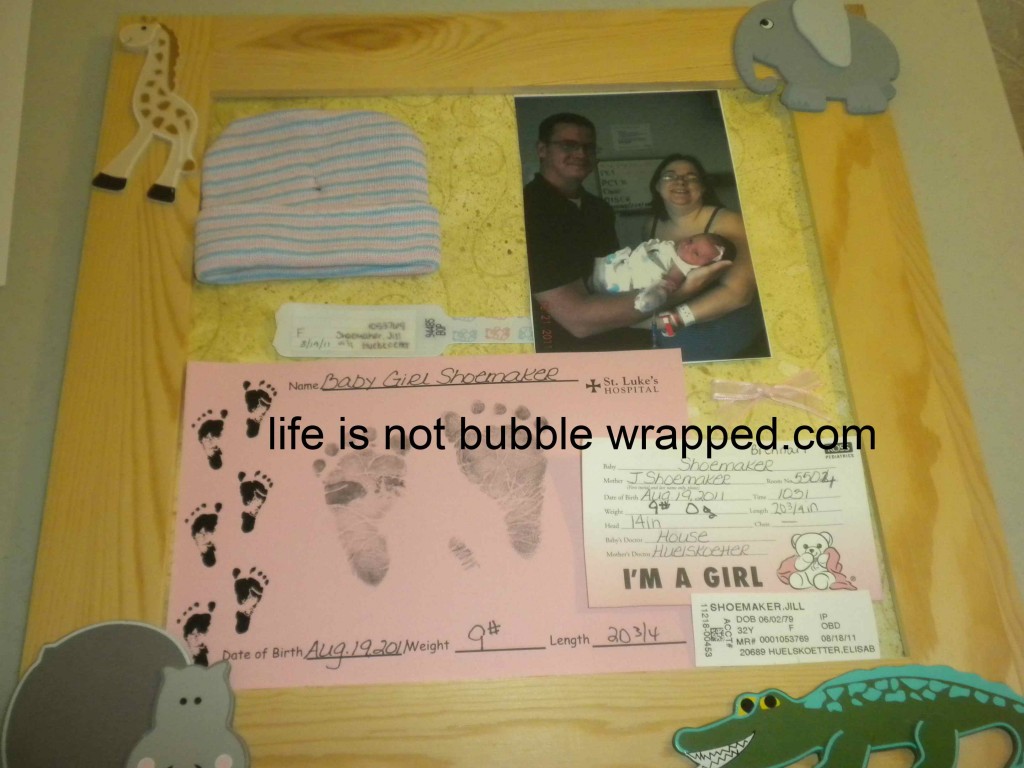
My oldest had a ‘preemie’ had that was knitted, so we used a twist tie and poked it through. This one was more fine and so I sewed through the paper and glued the thread down on the back. Everything else was glued or we used tape to attach each piece. Finished product…
