Today I want to share with you a craft that I completed for my kids for church for Easter Sunday. I think it turned out really well and was very simple. I made them a quiet book/board book to look at during services. This will be a staple in my purse/diaper bag, something interesting for them to look at while they wait for the children’s sermon. This could easily be adapted for any purpose, such as waiting in doctor’s offices, car trips, etc. I would consider this an EASY level project, because it only uses simple tools and no special equipment. If you have few interruptions and have your ideas planned out, you could easily complete this in an afternoon, and let it cure overnight for the next day. I did this in stages over the course of 2 days.
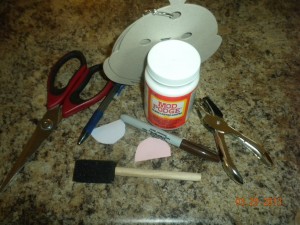
First the supplies, you need something to make your book out of, in this case a pre-cut shape with a ring from Michael’s craft stores ($1)–you might even find these on clearance right now and prep them for next year if you like. Mod podge (I also used a touch of craft glue to attach the felt shapes), a hole punch to attach the ring, a foam brush for the mod podge, a marker, scissors, and the items you are putting in your book (felt, scrapbooking or construction paper, pens, wiggly eyes, etc).
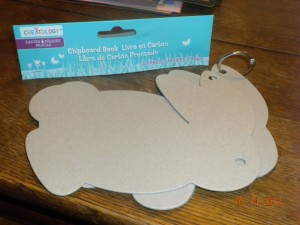
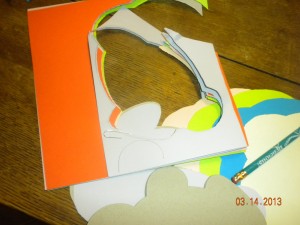
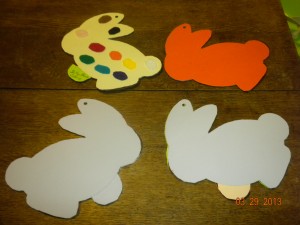
This is the template I used. It contained 4 pages, allowing for 8 sides of content, about the size of a standard board book. One of them had a hole for the eye and no ‘feet’. The rest were blank with added feet. I’m guessing the footless bunny was to be the cover, but really since it’s a flexible ring, you can go around and around with them so it’s not a necessity.
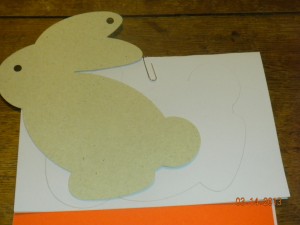
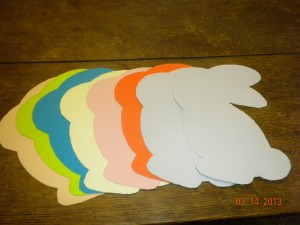
In the interest of expediency, I simply traced the shape onto a stack of construction paper paper-clipped together. Then I cut them out all at once. If you decide to make a square book, you could easily just use a standard size of paper and cut out your own cardboard, making the paper easier to attach. You can also purchase pre-made board books from several different websites.
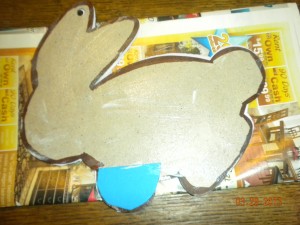
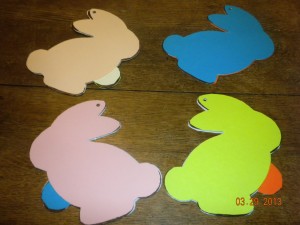
After I cut out the rabbit shapes, I used the scrap of the paper to cut out the feet, and decided to mix and match. Since the feet are ‘tabs’, I wrote on them to explain what the pages were for my four year old.
Here are the ‘bunnies’ all cut out. Cutting them all at once means there are a few rough edges, and the templates are not exact. If you trace the rabbit once, and then scan it with your computer scanner, you could print directly on the paper and then cut them all out at once, or simply trace the shape on each page and you’ll get a better fit for the template. Since this was my first attempt, and it was only a few days before Easter, I decided to go with expediency over neatness!
Since the templates weren’t exact, I lined them up nicely, and then punched the hole in each ear. This allowed for a bit more of a guideline when attaching them, as mod podge is STICKY and you don’t have much time to let the pages slide around. If I noticed that there were ‘gaps’, I outlined the rabbits using the marker. I attached the feet first and then layered the rest of the shape over it for a smoother look. If you don’t want mix and match, you can easily just trace and cut out the ‘footed’ shapes and only trim the two papers that don’t ‘need’ feet. If you want to do it all at once, or you’re worried you might mess up the content, you can also just add the content to the pages BEFORE putting them on, but I found that the ideas flowed more smoothly once I had my official blank canvas.
Using the mod podge and the foam brush, gently apply a small amount to whatever part of the cardboard you are trying to cover. You will also go over the top to ‘seal’ it, so be sure to allow drying time in between coats. Rinse your brush with soapy water between coats. Don’t forget to protect your work surface with old newspaper, either!
Here’s an example of some of the pages put together. You can see some of the market outlining, but I think they’re cuter with a little ‘attitude’.
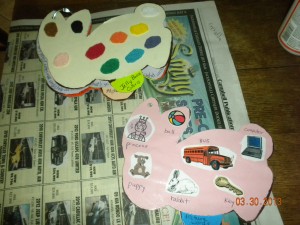
Here’s an example of one finished page. I used felt to make colored jelly beans, and gave a nod to a real rabbit by giving it a pink eye and fluffy white cotton tail. If you decide to use felt, you might consider mod podging the page down, then writing out what you want on the page, mod podging it to seal it and THEN gluing the felt over the top. Ahem– my foam brush picked up a lot of fuzz, so the rabbit has a nice ‘candy egg’ blurriness to it as the felt redistributed all over the paper!
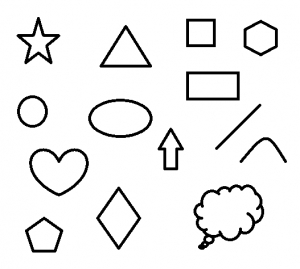
Below is an example of the book as it is completed. I tried to balance what my 2 kids needed across the pages. For example the pictures page (from the MS Office suite) can be NAMED by my toddler, and read and also made into a story by my older child. Above is an example of some shapes that I cut out from the paint program on my computer. I used an ink pen to write the name of the shape (for my older child) and the shapes themselves will intrigue my toddler, and we can work on learning them, as well.
To attach the paper shapes, I mod podged small bit of the paper at a time and smoothed them down. I had to wait for that to dry before adding a top coat to each paper shape. Again, you could use glue to attach the shapes if you want, and then mod podge over the entire thing after you’ve added captions, it’s really up to you!
The content you use should be unique to your kids and how and what they need to learn. I did things like colors, shapes, weather/seasons, and story pictures for the toddler, and rhyming and opposite words for my older one. Since this was for church and Easter specifically, I used some religious content, tying it into the pages (for example, I used themed rhyming words, like cross, and for the seasons page wrote that each snowflake was special and unique, just like every person is made that way by God). For the most part though, I just wanted something to keep them entertained! Warning: As is typical of most craft products, the mod podge is non-toxic, but I did not use the water-proof kind and it is not recommended that it be swallowed, so it shouldn’t be put in your kid’s mouths! Be smart and safe when crafting for kids!

I am severely lacking in the creative aspect, but I loved this. Thanks so much for sharing!
Love it! Thanks for sharing…would love to do this with my kids 🙂